Weekend 7 ~ DIY Mary Shrine ~ part of THE make something (anything) every weekend challenge
Posted in butterfly medicine, diy art, make something anything every weekend challenge, mary shrine 0 comments
Hello and welcome to week 7 at the Cicada Moon Workshop and our "make something (anything) every weekend challenge".
I am lucky to have a very cool studio full of bits and pieces of this and that ~ one of my favorite collections (or in my husband's eyes one of my worst habits :) is my assortment of "Mary's".
So, this weekend at Cicada Moon Workshop, we are going to make a Mary Shrine.
1. 1 Mary + 1 vintage jewelry box = the beginnings of your shrine:
Strike up the Tori . . .
Here we go ~
2. This jewelry box comes from one of the very first auctions Trey and I went to in Emporia, KS ~ it was overfilled with vintage costume jewelry (and even a silver tooth!) I love how primitive it is, old and beautiful. A perfect fit for one of my ceramic, thrift-store Mary's.
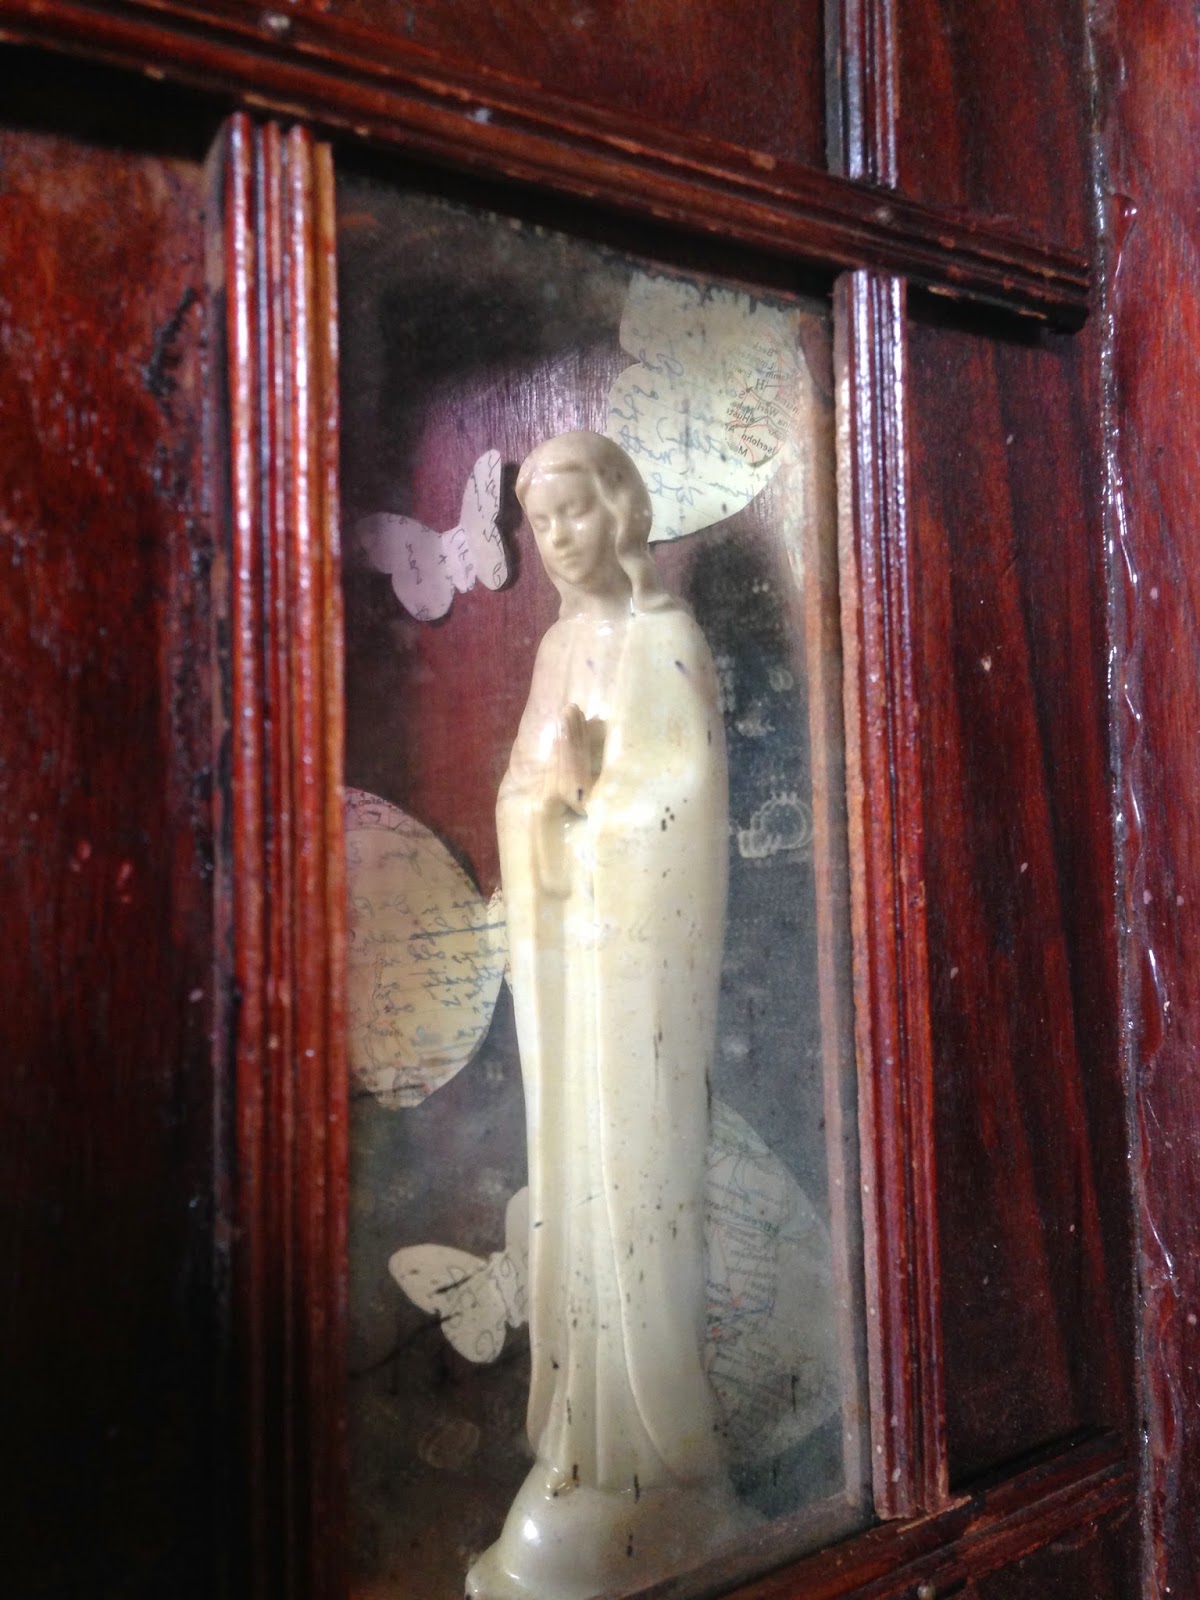
3. When we had Studio Rewind, I often made Mary Shrines and sold them in our shop. One of my favorite themes is "Our Lady of the Butterflies" so I am going to make several paper butterflies from vintage letters, maps and blue prints.
4. I pulled this butterfly pattern off of Pinterest and printed the patterns out onto card stock:
5. Cut out the butterflies ~ you only need to cut out one half in great detail, refer to pictures below to see why :)
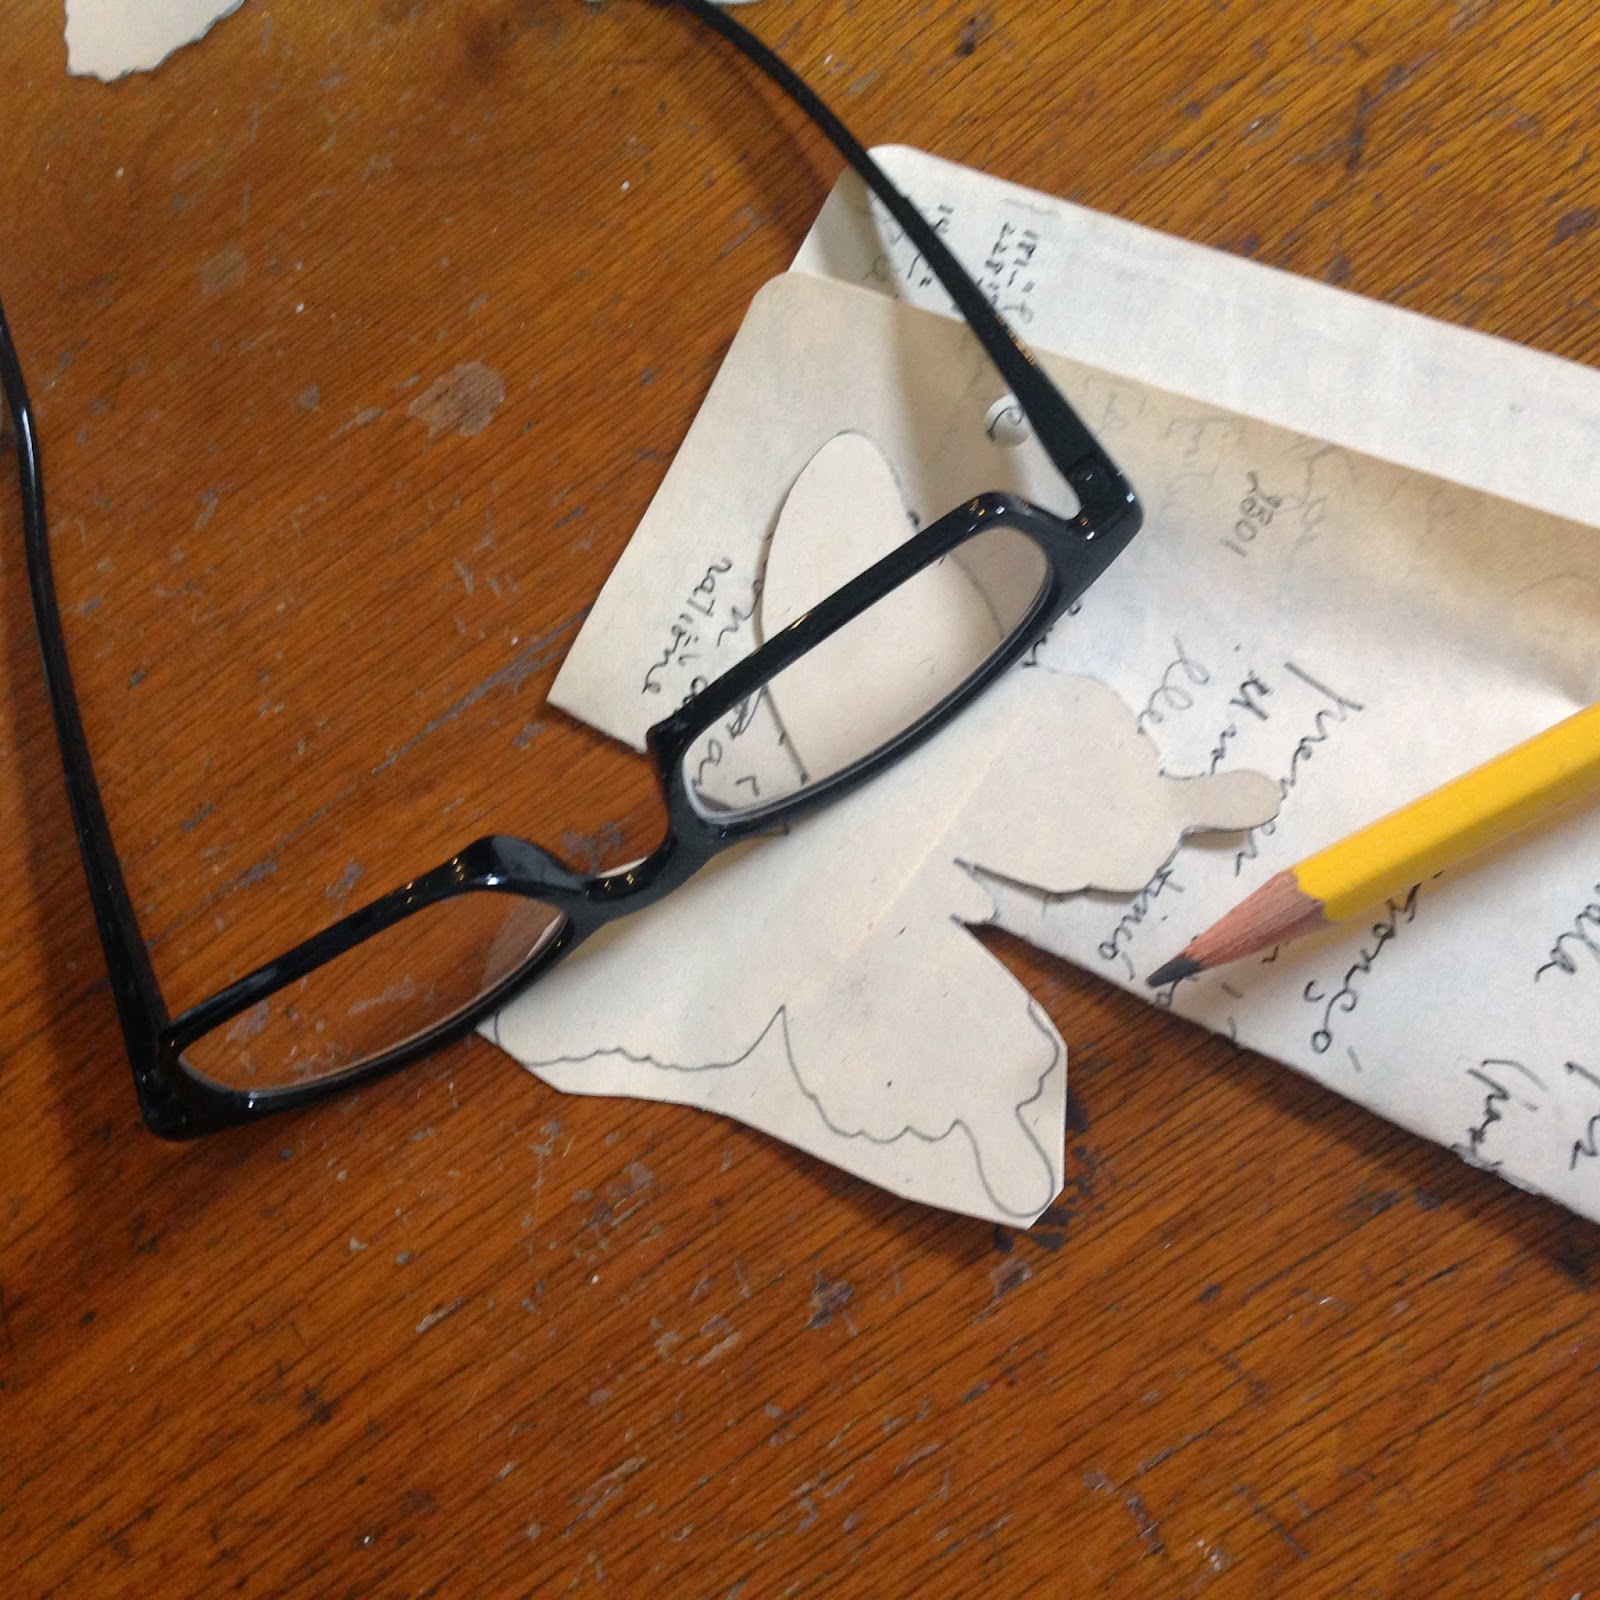
6. Fold your selected paper in half, then trace half the butterfly on the fold then cut: (TIP: I use 2.5 magnification reading glasses instead of a magnifying glass ~ hands free and super cheap ~ great for detailed work!)
7. Gently shape your chosen butterflies with hand folding and pencil shaping. I layered my butterflies to give them more dimension and glued them together with mini-glue dots:
8. Okay, time to position the butterflies into your box. Position a glue dot on the back of one of your finished butterflies and then pick a spot for it to go :)
 |
| Words in PP saved as JPEG |
 |
| JPEG copied into a PP slide, then flipped horizontally. |
11. After you have printed onto your wax paper, cut it away from the card stock and position it onto the wood in your desired location, printed side down. Then tape into place:
12. Take a capped sharpie and firmly press down on the words, make sure every word is firmly pressed so the ink can release from the wax paper onto the wood:
13. Gently lift off the wax paper:
14. Our Lady of Butterflies:
Next week, we are going to open the doors to Cicada Moonshine Cafe and do a play-by-play as Trey, Ella and I cook up an elevated hamburger feast. Featuring Trey at the grill using freshly ground hamburger from our local charcuterie ~ truffle oil sweet potato fries ~ moscow mules for the adults and Ella's elevated root beer floats :)
Enjoy the miraculous week in front of you, may storms and blossoms abound ~ relax and let the butterfly medicine infuse you!


0 comments:
Post a Comment