el universo ~ making your own universe ~ it's easier than it sounds :)
Posted in diy clothing, galaxy, repurposed clothes, universe 0 comments
How lucky was I to have Ella join me on my very first, "Make Something, Anything, Every Weekend Challenge" ??
Well, very lucky to tell you the truth.
She got to pick our very first project, and she didn't start small. She wanted to create her own universe, so that is exactly what we did.
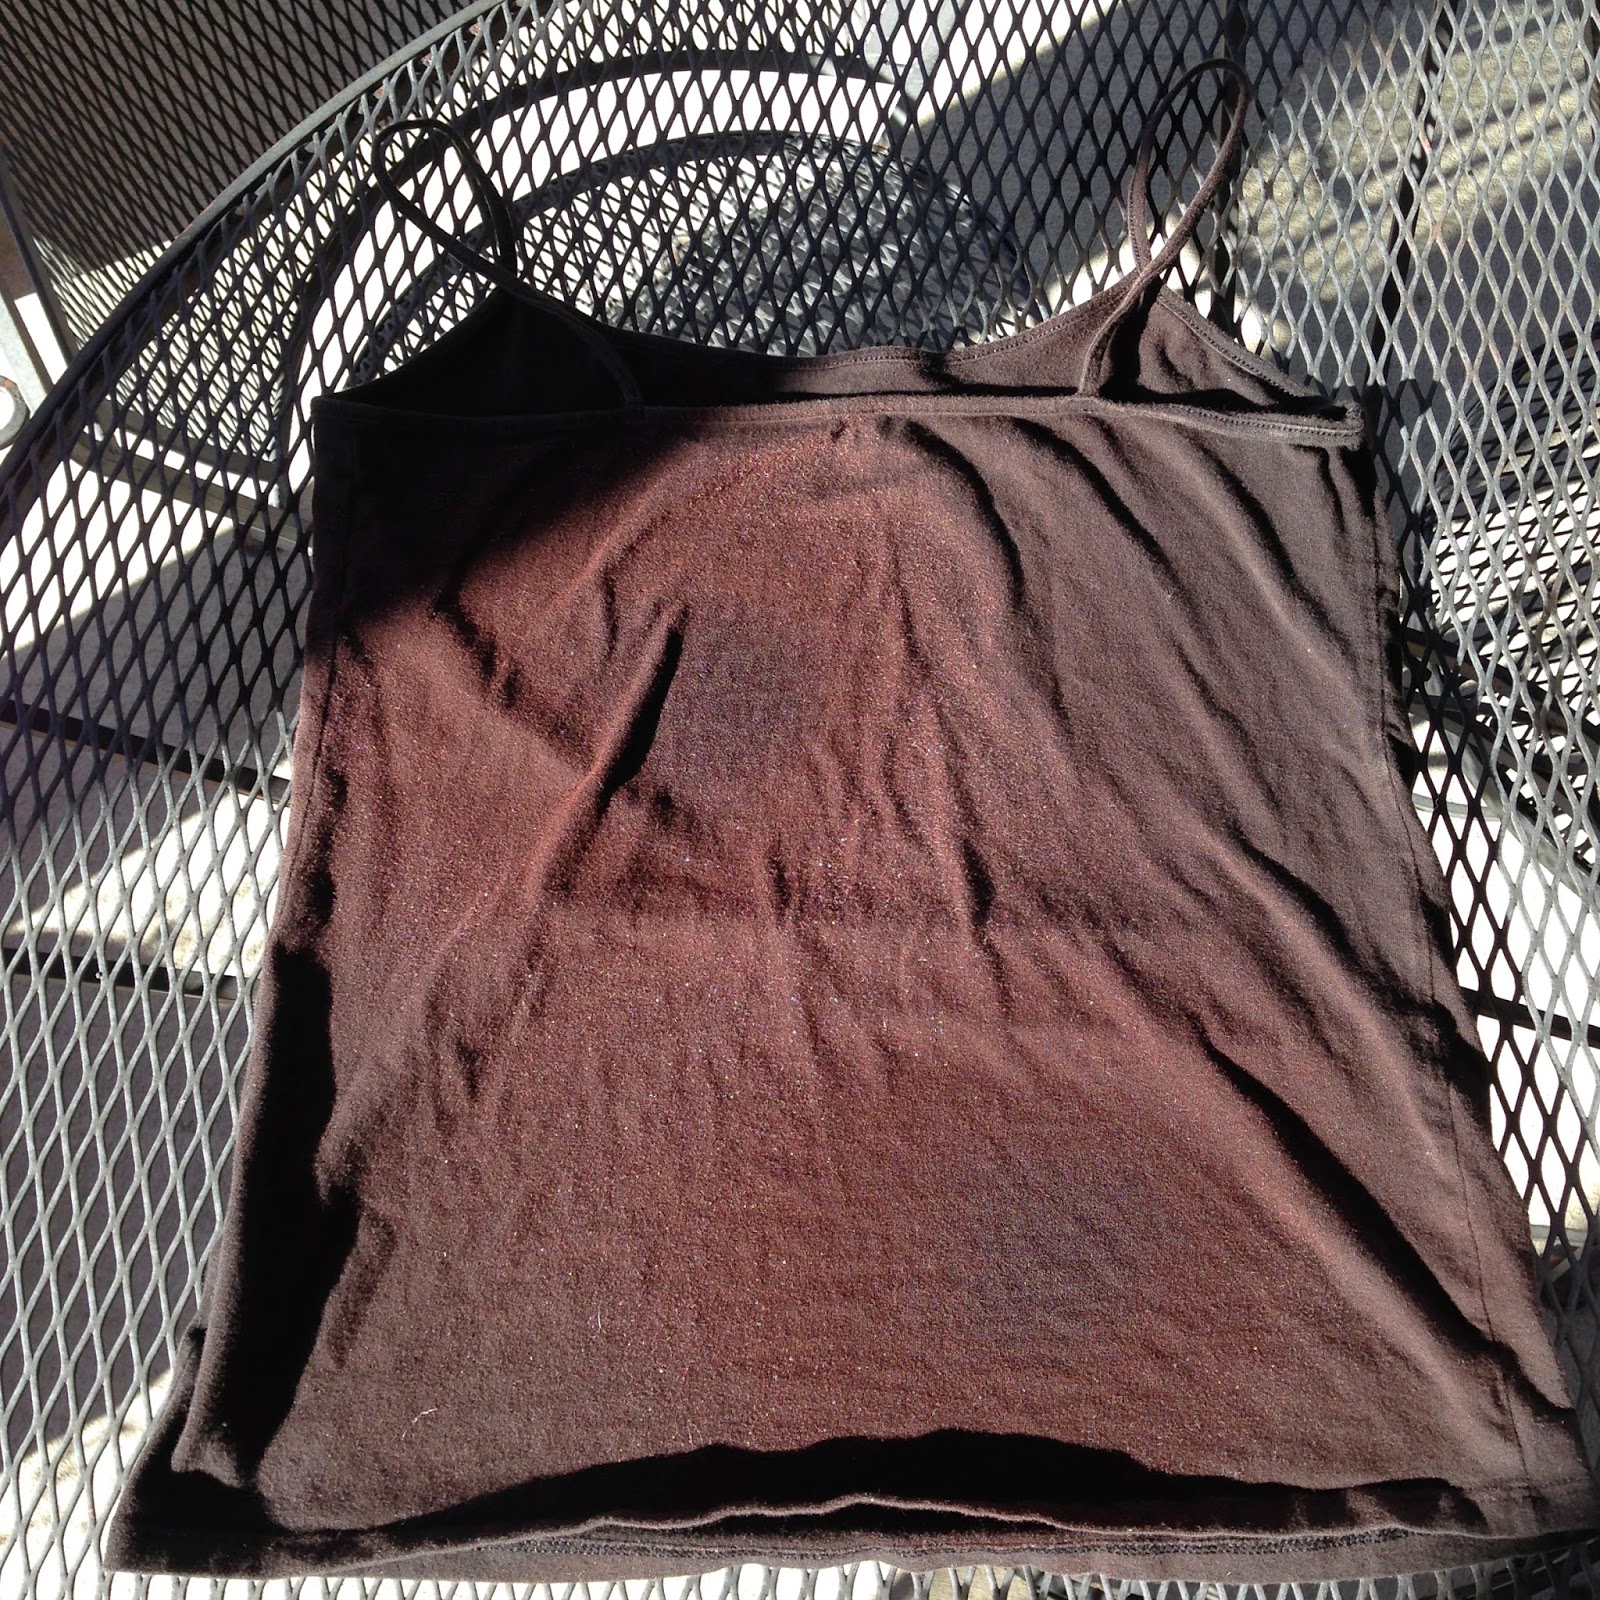
All of the best adventures begin at Goodwill ~ Ella and I ran there before our Friday night family dinner and picked out some basic black clothing. And then for good measure, I stole one of Trey's black t-shirts to add to the collection, but it is seeming highly unlikely we will see him wearing it any day soon (who knew?? :)
Your ingredient list: black clothing of your choosing; bleach; water; spray bottle; funnel if you have one; sponges; old toothbrush; small paint brushes (or you could use toothpicks in a pinch); acrylic paint: purple (we had to mix our own shade as I forgot to buy some at the store :), blue (we used cobalt blue, navy blue, island blue), orange (terra cotta), white, black (if you want to correct something); something to protect you work surface (we used a roll of craft paper); paper plates to hold your paints while painting; outside work space for bleaching
NOTE: you can use fabric paint if you prefer
Click on the slideshow below to get a quick peek at what we started with:
And as we like to say . . .
1. Okay, as already stated you will want some black or dark clothing. We used all cotton blends, and you will find out when you begin that different types of material bleach differently. Which is cool and adds to the adventure.
2. Then you will need to mix up some bleach and water. Our tutorial said 1/2 bleach and 1/2 water but our bleach stains weren't turning anywhere even near to white so on our last bleach attempt we kicked up to 2/3 bleach and 1/3 water.
We used an old windex bottle for bleach/water mix ~ you will need some sort of spray bottle to make this work.
3. You are ready to move your party outside. (for real, move it outside, bleach and the inside of your house aren't going to be a good mix!) Lay your clothing on a flat surface and smooth out any wrinkles or creases, then focus your spray into several spots of the front and back ~ we found that the more organic looking the better, and not too many ~ we had about 3-5 concentrated spots on the front, then 3-5 on the back. Let them "marinate" for an hour or more, check them to see if they are whitening to your taste. When you are happy with how they look, rinse them in cold water and let them dry. To be truthful, we did this step 3 times! Each time we weren't happy with the degree of bleaching or some of our patterns were too neat ~ on the last time, we strengthened the bleach/water solution to the 2/3 bleach and 1/3 water recipe which worked best for us. We also used the final time, to make our shapes more organic and messy ~ it looked better to our eyes.
4. Okay, once your pieces of clothing are bleached-up, rinsed out and dried it is time to PAINT! We did this inside, so we had to prepare our surface. We just covered our dining table with craft paper, but you could use an old sheet, old towels, newspaper. We didn't cover the floor, and if we had been working on carpet we would have regretted this ~ the floor was covered in paint (oooops!) So if you are't working on a floor that is easy to sponge clean you will want to cover the floor with an old sheet before you start.
Just to recap you will need: sponges, old toothbrushes, some small paintbrushes, acrylic paint (purple, blue, orange (or red), white), paper plates (to hold your paints), glasses full of water
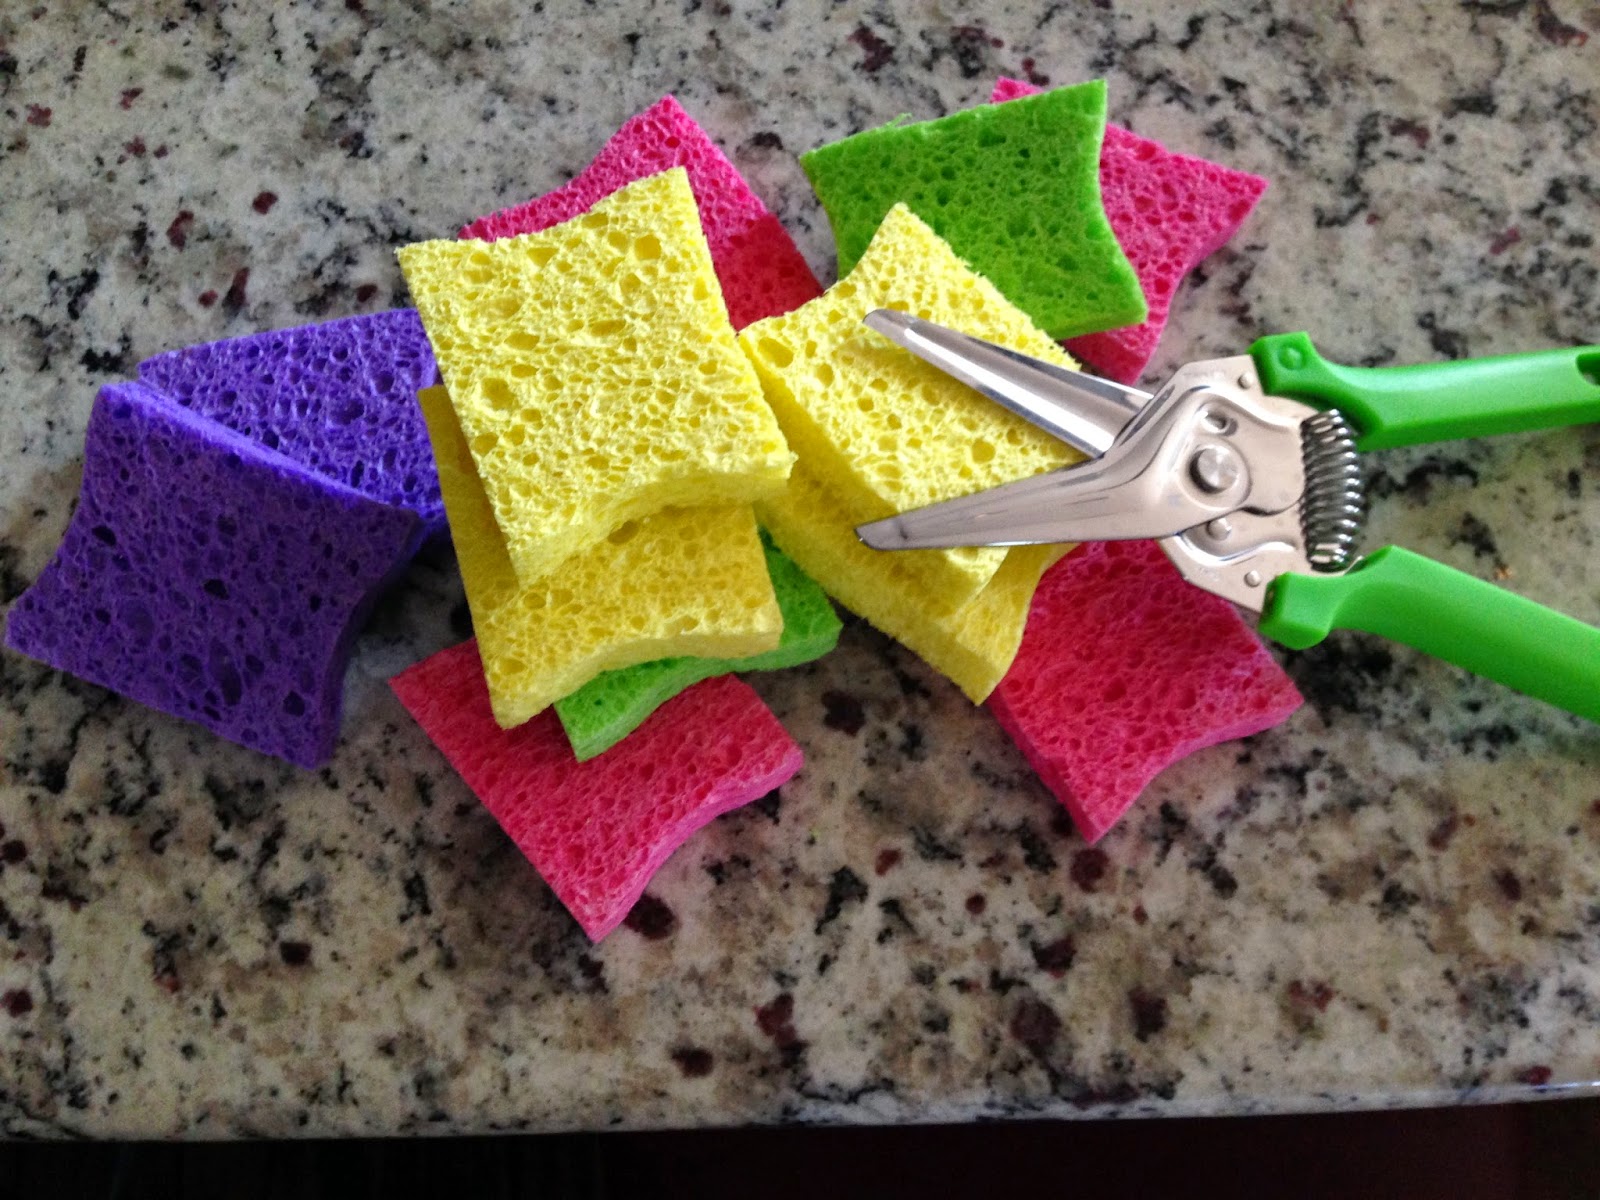
We cut our sponges in half and only ended up using 2 half sponges each. One sponge for the purple, blue and orange (got pretty messy but we liked the surprises we got) and one clean sponge for the white.
5. Our table is covered in craft paper and the clothing is spread out and ready to go. Let's get going. You will notice that bleach looks different on different pieces of clothing ~ who knew??
7. Now you are going to come in with your BLUE paint. We had several different shades: navy, bright blue, and an aqua. We just re-used our purple sponge and the purple plate. You can start fresh if you feel the need, whatever you want :) Add the blue to the outer edges of your purple paint, remember to water down the paint, you can also water down "too bright" paint directly on your piece of clothing if you feel the need. Add the blue into the purply/black sections of the fabric.
9. Now it all comes together. You are going to finish with your WHITE paint. For this step, we got fresh water. A fresh plate and new sponge. You will add white to your bleach spots to add dimension and make them pop. Then you will play around, make a BIG mess making your stars :) To make the tiny stars, you will use an old toothbrush. Wet it in water and dip into your white paint. Then you turn the toothbrush towards your clothing, and brush your thumb over the bristles. You may want to practice outside until you get the hang of it. To get the big stars you can use your tiny brush, dip the tip in the white and make a tiny "x", here, there and wherever. Or you can just use the tip, to make a dot. That works too.
10. Now let them dry . . .
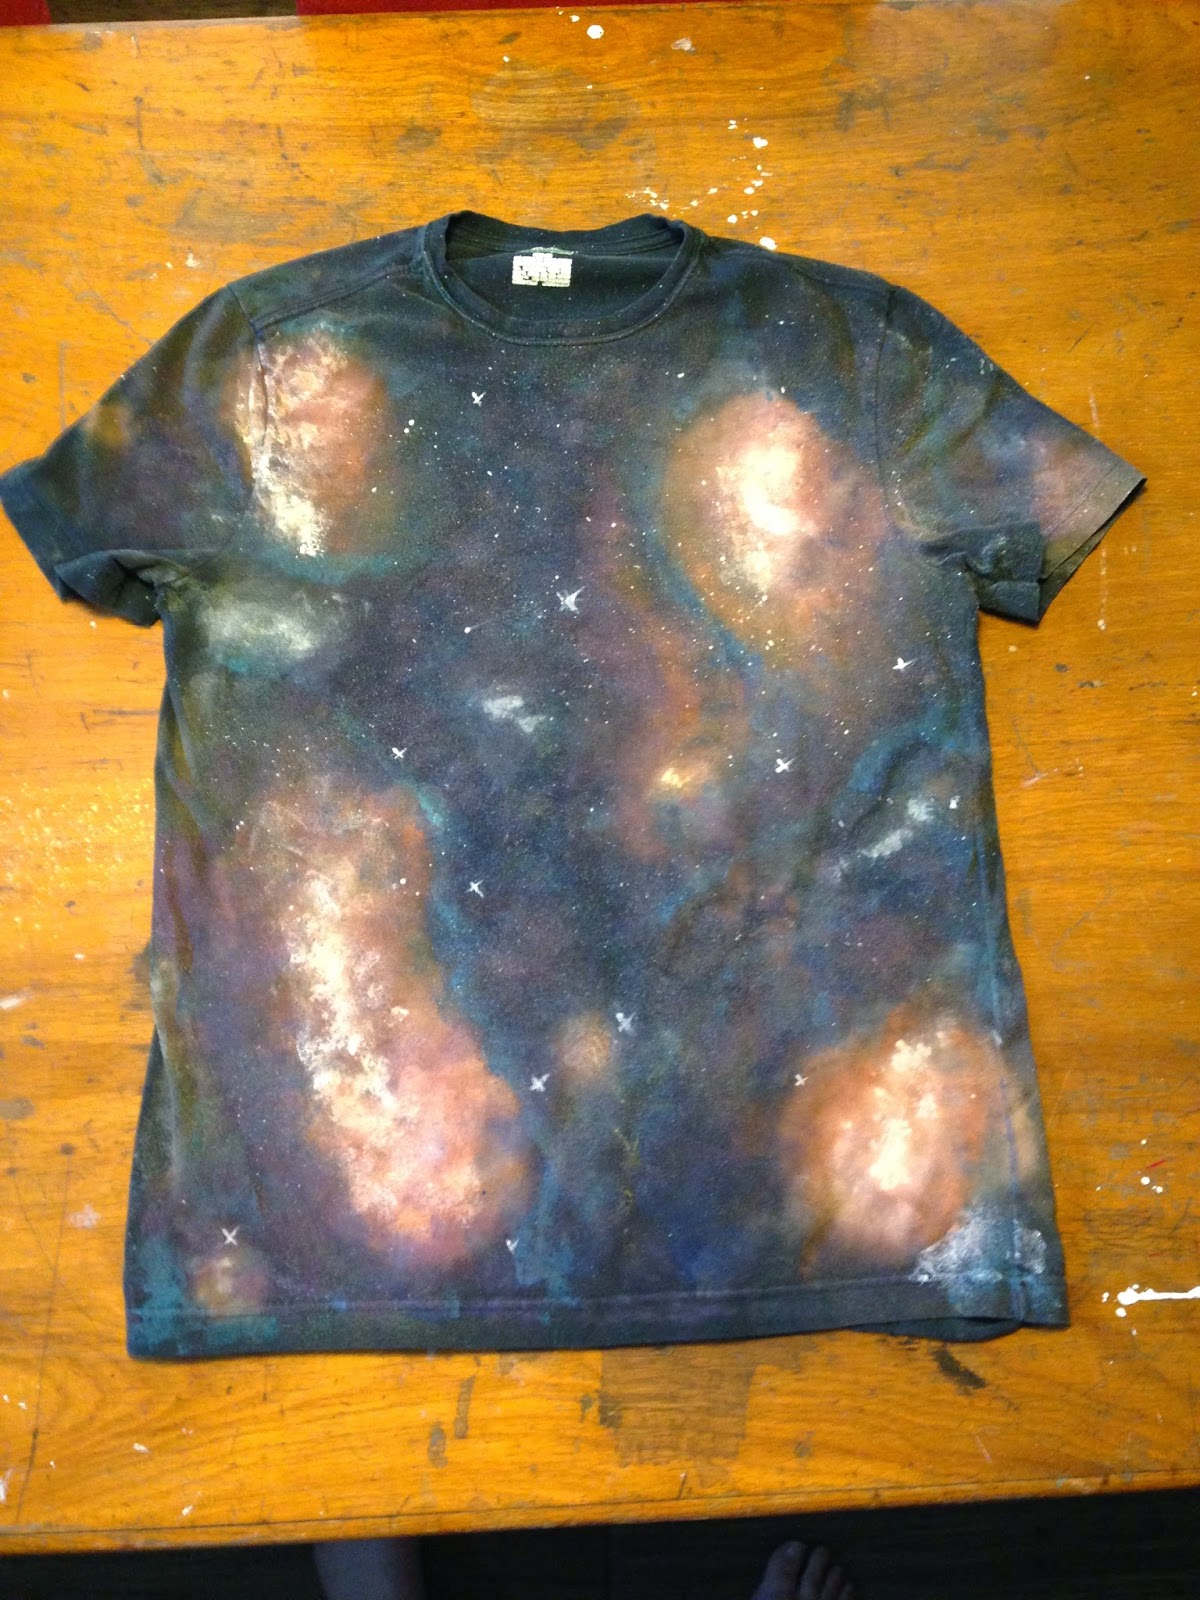
11. And the finished looks . . .
12. To set the acrlyic paint, throw your painted pieces in the dryer once they have air dried for 24 hours. Put them in for 40 minutes on medium heat. We are washing our hand-painted pieces by hand, just to be extra careful with them. And never iron these hand-painted pieces with steam (it will not be a happy day). You can iron, on a low to medium setting with a DRY iron.
13. Now you know exactly what you are going wear on your next little adventure into the universe!
Well, very lucky to tell you the truth.
She got to pick our very first project, and she didn't start small. She wanted to create her own universe, so that is exactly what we did.
Using Pinterest as our inspiration, we looked around for a good tutorial and found this one from "How To Own It: The Queer Grrl's Guide to the Galaxy"
 |
| click on the pic to go her tutorial |
All of the best adventures begin at Goodwill ~ Ella and I ran there before our Friday night family dinner and picked out some basic black clothing. And then for good measure, I stole one of Trey's black t-shirts to add to the collection, but it is seeming highly unlikely we will see him wearing it any day soon (who knew?? :)
Your ingredient list: black clothing of your choosing; bleach; water; spray bottle; funnel if you have one; sponges; old toothbrush; small paint brushes (or you could use toothpicks in a pinch); acrylic paint: purple (we had to mix our own shade as I forgot to buy some at the store :), blue (we used cobalt blue, navy blue, island blue), orange (terra cotta), white, black (if you want to correct something); something to protect you work surface (we used a roll of craft paper); paper plates to hold your paints while painting; outside work space for bleaching
NOTE: you can use fabric paint if you prefer
Click on the slideshow below to get a quick peek at what we started with:
And as we like to say . . .
1. Okay, as already stated you will want some black or dark clothing. We used all cotton blends, and you will find out when you begin that different types of material bleach differently. Which is cool and adds to the adventure.
2. Then you will need to mix up some bleach and water. Our tutorial said 1/2 bleach and 1/2 water but our bleach stains weren't turning anywhere even near to white so on our last bleach attempt we kicked up to 2/3 bleach and 1/3 water.
We used an old windex bottle for bleach/water mix ~ you will need some sort of spray bottle to make this work.
3. You are ready to move your party outside. (for real, move it outside, bleach and the inside of your house aren't going to be a good mix!) Lay your clothing on a flat surface and smooth out any wrinkles or creases, then focus your spray into several spots of the front and back ~ we found that the more organic looking the better, and not too many ~ we had about 3-5 concentrated spots on the front, then 3-5 on the back. Let them "marinate" for an hour or more, check them to see if they are whitening to your taste. When you are happy with how they look, rinse them in cold water and let them dry. To be truthful, we did this step 3 times! Each time we weren't happy with the degree of bleaching or some of our patterns were too neat ~ on the last time, we strengthened the bleach/water solution to the 2/3 bleach and 1/3 water recipe which worked best for us. We also used the final time, to make our shapes more organic and messy ~ it looked better to our eyes.
Just to recap you will need: sponges, old toothbrushes, some small paintbrushes, acrylic paint (purple, blue, orange (or red), white), paper plates (to hold your paints), glasses full of water
5. Our table is covered in craft paper and the clothing is spread out and ready to go. Let's get going. You will notice that bleach looks different on different pieces of clothing ~ who knew??
6. You are going to start with the PURPLE paint, squirt the paint onto your paper plate and then dip your sponge in the water. Water down your paint and then outline each of the bleach spots in purple, then drop purple here into the dark parts of the fabric. I also took some very watered down purple into and/or across the middle of my bleach spots. The more haphazard the better. At one point Ella noted that it was the "mistakes" that ended up the coolest and she was absolutely right! So the trick ~ abandon reason and perfection, be messy and have fun and you will make something cool.
7. Now you are going to come in with your BLUE paint. We had several different shades: navy, bright blue, and an aqua. We just re-used our purple sponge and the purple plate. You can start fresh if you feel the need, whatever you want :) Add the blue to the outer edges of your purple paint, remember to water down the paint, you can also water down "too bright" paint directly on your piece of clothing if you feel the need. Add the blue into the purply/black sections of the fabric.
8. Now, into the ORANGE paint (or you could use red). We used a terra cotta shade and were happy with the results. You are going to take the orange and blend together your bleach spots into the purple paint.
 |
| Ella used used her fingers more than her sponge :) |
10. Now let them dry . . .
11. And the finished looks . . .
12. To set the acrlyic paint, throw your painted pieces in the dryer once they have air dried for 24 hours. Put them in for 40 minutes on medium heat. We are washing our hand-painted pieces by hand, just to be extra careful with them. And never iron these hand-painted pieces with steam (it will not be a happy day). You can iron, on a low to medium setting with a DRY iron.
13. Now you know exactly what you are going wear on your next little adventure into the universe!


0 comments:
Post a Comment